So here it is, SNES controller, which is now a PC controller!
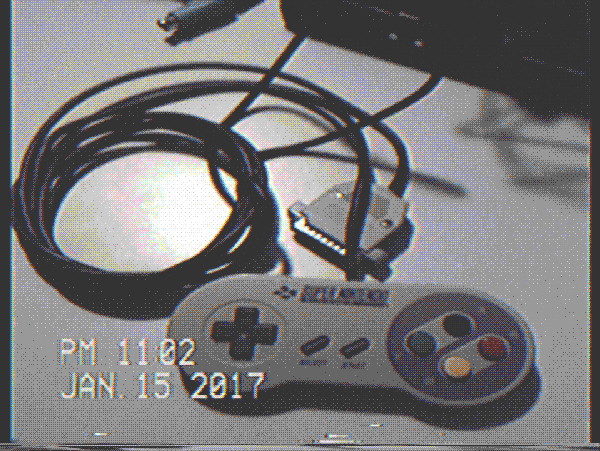
Looks good!
And that's going to be yet another instruction for this kind of mod, like, over-9000th =>.>.>=
Level: Easy enough
Requirements:
• Soldering iron;
• Some soldering skills;
• SNES controller;
• 3-6 diodes (any type will do);
• Male DB25 connector (preferrably in a plastic case);
• Cable with 5 wires minimum;
• "+"-shaped screwdriver (or Philips screwdriver);
• Being a sentient arctic fox;
• Patience (you will need it, I guarantee it).

Software requirements:
� DOS (ZSNES only), Win9x or WinXP;
� PPJoy or PSXPad (download links below).
Adapter/cable schematics

First you must disassemble the controller, of course:
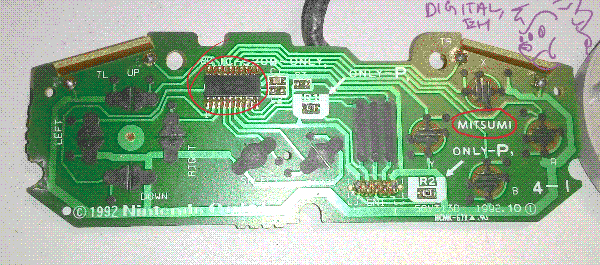
Here we notice a controller chip, meaning that it's digital
and obvious Mitsumi logo (might differ in different controllers)
Summing things up before proceeding: I got this very controller about 8 years ago
or so, and back then it had problems, like shortened buttons, making it
impossible to use, so since I was young and stupid, I just cut the wire, stored it
for a better time, and left that SNES controller tied up with another dead Genesis
controller. Just a bunch of days ago I remembered of that controller and that LPT mod
being quite unsure about its state, so I'm going to tell the instructions from my
very perspective.
Important: Don't be lazy and clean the board
gently but thouroughly, every single contact pad. Who knows
what was going here for all that long time... And clean the case too.
Just do it. If you been using this for a long time, you might
find a very unpleasant view there.
So as soon as I turned the board around, I spotted this.
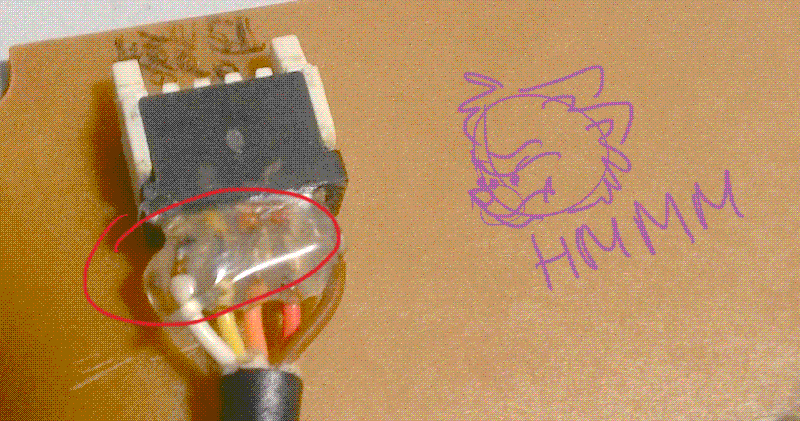
Looks fishy here...
Before, when I got this, that didn't look bad too me.
In fact, back then I thought it's okay, but as then I noticed
in the video, where the guy cleans SNES controller, he didn't
have a blob of hot glue and mysterious spots of somebody trying to
fix it.
Ni-i-i-ce.
So if you happen to get a controller from someone and you spot this kind of
nonsense, just do yourself a favor and desolder the connector completely.
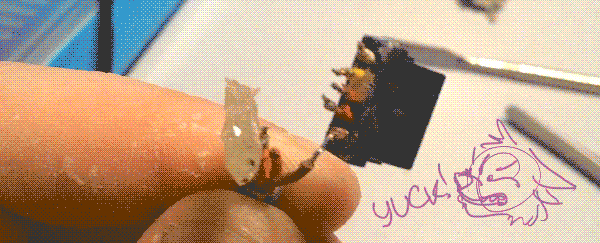
In my case this probably was the reason causing problems.
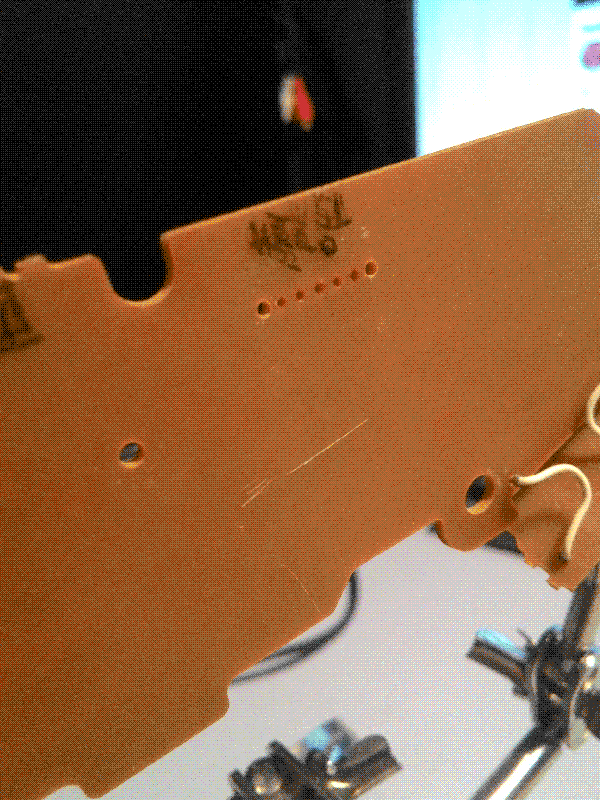
That's better!
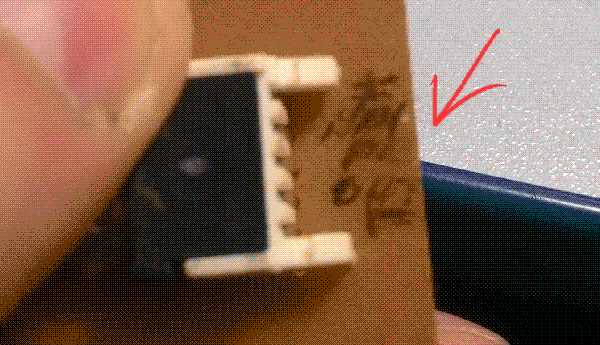
I actually thought these could be left by the one who was fixing it,
but other factory stamps and writings looked the same, so *shrugs*
And another stupid thing I noticed:
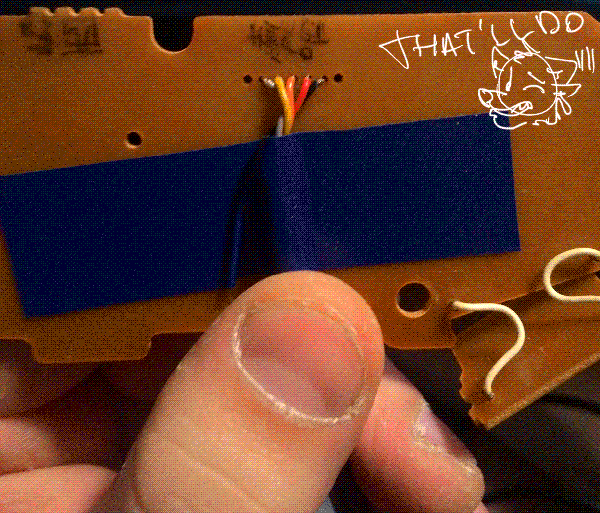
So as soon as I wired a new cable straight to the board,
I then fixed cable's position... sorta.
Oh right, next and quite the thing you
need to know:
Some people say that you can use other way to power the chip inside the
controller to avoid the usage of diodes, like wiring VCC and GND of the pad
straight to USB cable's VCC and GND, for example.
NO. DON'T YOU DO IT.
I mean, I know you can power it from another power source, yeah,
but there are no instructions how to make it right and if you're an amateur
just like me, most likely you'll just burn the chip in the worst situation possible
or it just won't work. It just won't. And diodes are pretty simple to find, really.
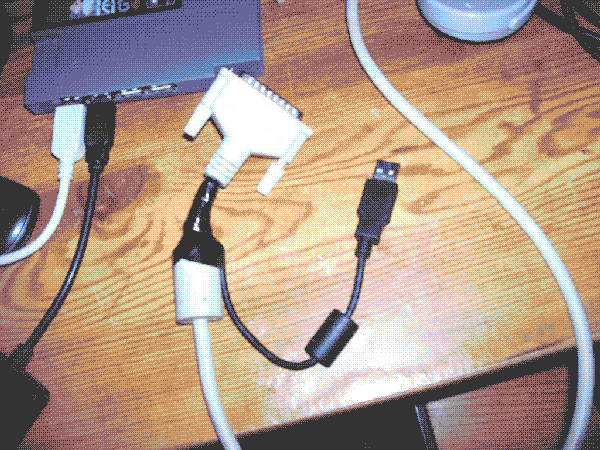
This lucky guy did exactly the same and it didn't work too for more
or less obvious reasons. I hope he eventually managed to make it work.
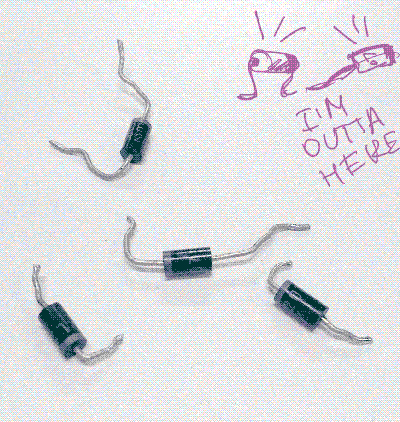
So I just had to find diodes and here's the thing you can
change slightly: amount of diodes.
I've managed to get just four and some other people, who
did their mods, used just 3 diodes, for example and it worked for them!
Now the hard thing; the part, where you need patience and
here's also the part when you understand why you need a DB25 port in a
plastic case:
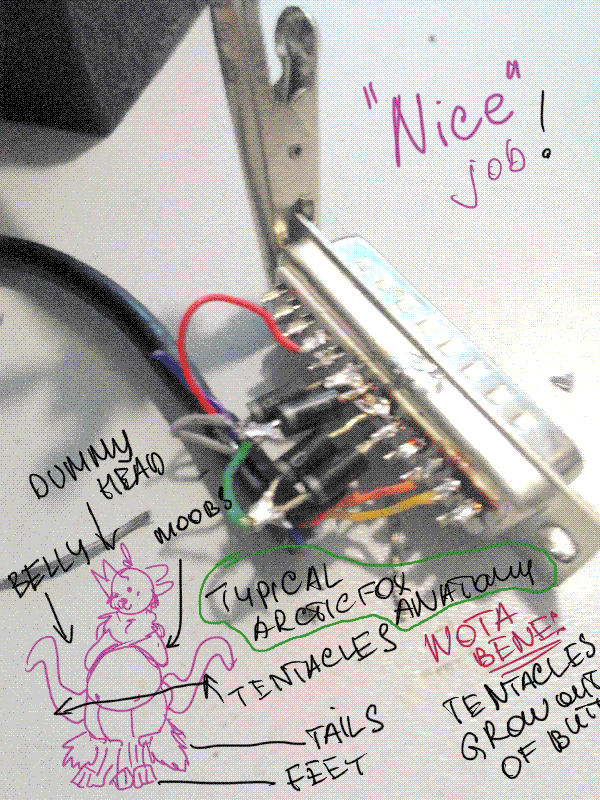
...to hide this abomination.
So if your SNES controller has the same color coding, as mine, you
should wire everything like this:
 This is to remind you how schematics looked!
Alright, so yellow wire goes to pin 2,
orange wire to pin 3,
red wire to pin 10 (for player 1) or to pin 11 for player 2,
brown wire to pin 18/19 (I did just 18),
and white wire is going to the other end of diodes.
Attention!
See that line on one of the diode sides? --|>|--
It should "look" away from the DB25 port, or "look" to SNES port.
And as soon as you've finished and assembled everything,
you now need a specific software and drivers to make that work on
your PC/laptop. I've used PPJoy (click to download).
After the installation,
go Start > Programs > PPJoy > Parallel Port Configuration
(or like that), press "Add...", then parallel port to which you have
your new controller connected to. "Controller type", obviously, "SNES or NES pad".
Then press "Add" and that's it! You have your controller now connected to your PC!
Though I suggest going to Control Panel and check if it's actually working,
if not - you might've done something wrong, check the wiring.
If yes, then
CONGLATURATION ! ! !
YOU HAVE DID
A GREAT JOB.
AND PROOVED THE JUSTICE
OF OUR CULTURE.
NOW GO AND PLAY OUR
HEROES !
No, seriously, you can play games now!
And here's a video of my controller in action!






This is to remind you how schematics looked!

Alright, so yellow wire goes to pin 2,
orange wire to pin 3,
red wire to pin 10 (for player 1) or to pin 11 for player 2,
brown wire to pin 18/19 (I did just 18),
and white wire is going to the other end of diodes.

Attention!
See that line on one of the diode sides? --|>|--
It should "look" away from the DB25 port, or "look" to SNES port.